AVDs are a great way to test your application without having a physical device on hand. It can be easily reset and restarted without worrying about data on the device. Though they are little slower as compared to a physical device, but their merits overweight this performance gap.
Setting up AVDs is pretty easy and this is usually the first step that one gets to know when learning about Android development.
In a multi-display setup, one can easily utilize the space by showing the AVD on one screen and code on another. I earlier explained how to use your Android TV as second display with a MacBook.
But sometimes, AVD shows up with the skin and no display (black screen only)!
This also occurs when you are using some sort of virtual display like second monitor using AirPlay or ChromeCast and so on. However, if you choose to mirror the display, this does not happen.
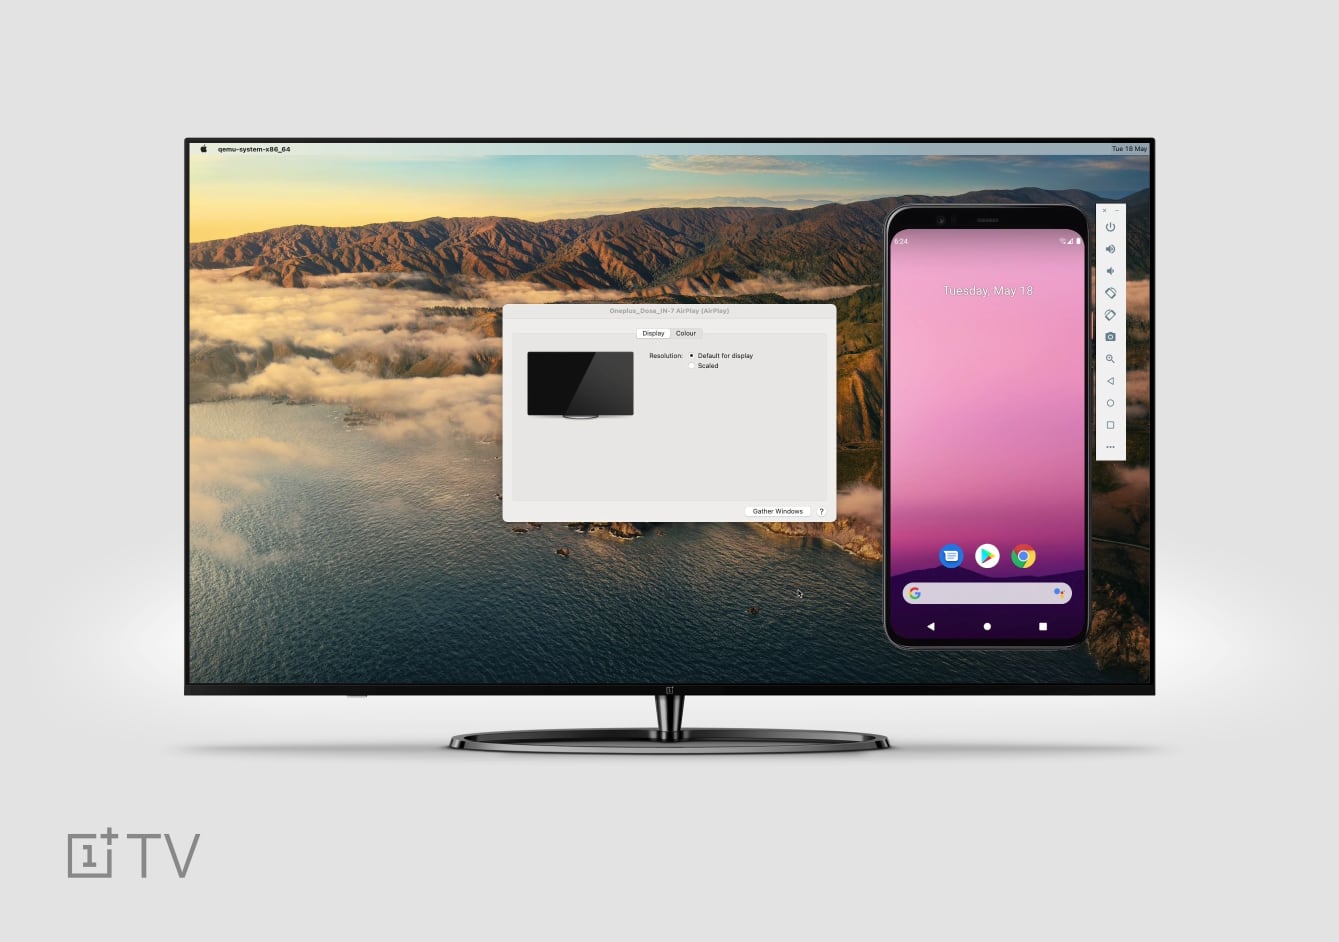
Here is a gif of what happened when I dragged the AVD window in to my TV (second display):

As you can see that the device shows the screen for a moment and then it goes black. It was working fine on my primary display:

So, what went wrong? After a lot of useless (re)search and fiddling with settings, I finally got it to work. As it turned out that the problem was not with the AVD but how the graphics are handled - as even creating multiple new AVDs also did not work for me, and neither did restarting the system helped.
So, first of all bring back the device to your physical screen and shut down the device (long press the power button and choose to shut down). Then Edit the device in AVD manager.

Under Emulated Performance, you will see an option for Graphics. It will have three values: Auto, Software and Hardware. Here, select Software and save the AVD.
If you are unable to change the option for Graphics here, you'll need to edit it manually:
Open the folder that contains your AVD image (Choose Show on Disk in the right most item along the AVD). You will see a file named config.ini, open this file in any text editor. (Ensure to quit Android Studio before making any edits to this file.)

Now, search for entry named hw.gpu.mode and set it to software. Now save the file and close this window.
Now, start Android Studio and check to see that the AVD Manager should show configuration like shown here:

Now, if you run the AVD, you will not see a black screen! It can be freely taken to your second display or TV.